This is not your conventional birthday cake. But it is totally a great birthday cake! Imagine making banana bread in round cake pans instead of a loaf pan. That's essentially what this is. And it's made me rethink all quick breads. What if any loaf could be turned into a layer cake. So much more exciting. And so much more room for frosting. ;)
Pumpkin bread, zucchini bread, lemon poppy seed. Oooh, some of those might go well with a cream cheese frosting, perhaps flavored with orange or lemon zest. This quick breads-turned-layer cakes thing could possibly be a dangerous discovery. I don't have time in my life right now to start a new obsession. Someone needs to write a cookbook on the topic. I should get royalties.
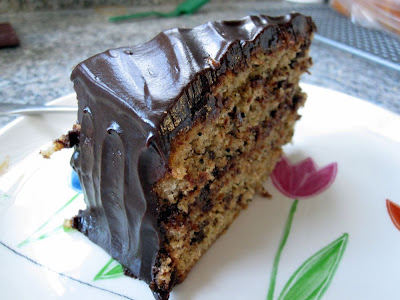
This banana chocolate chip layer cake is everything you want it to be and more. Actually, if we really want to talk about "and more," try changing the frosting to peanut butter, because we all know that bananas, peanut butter, and chocolate go perfectly together. But even as is, I am so happy to have discovered this recipe and I will be making it again for sure.
Not only were the texture and taste great, but from a difficulty level, this cake is easier than other layer cakes. When the two layers bake, they pull away from the edges so nicely and plop right out of their pans without any trouble. They're a little denser than other cakes and therefore less fragile when handling. Sturdier. Forgiving. And when you've made delicate cakes that crumbled when removed from the pan, or broke into four giant chunks in your hand during assembly (and broke your heart!), a forgiving cake is something to be thankful for. Ain't that the truth!
 Banana Chocolate Chip Layer Cake with Mocha Frosting
Adapted from a recipe by David Lebovitz in
Ready for DessertCake2 1/2 cups all-purpose flour
1 1/2 teaspoons ground cinnamon
1 1/2 teaspoons baking powder
3/4 teaspoon baking soda
1/2 teaspoon salt
1 cup unsalted butter, at room temperature
1 1/2 cups sugar
1 teaspoon vanilla extract
1 tablespoon instant espresso or coffee powder (you can skip this to avoid caffeine)
2 large eggs, at room temperature
6 tablespoons buttermilk, yogurt, or sour cream, at room temperature
2 cups banana puree (3 to 4 very ripe bananas)
1 1/4 cups mini chocolate chips
Mocha Frosting10 ounces bittersweet or semisweet chocolate, coarsely chopped
1/2 cup strong brewed coffee or espresso (or water if you don't want caffeine)
10 tablespoons unsalted or salted butter, cut into pieces, at room temperature
Preheat the oven to 350 degrees F. Grease the bottom and sides of two 9-inch round cake pans, then place round parchment papers on the bottom.
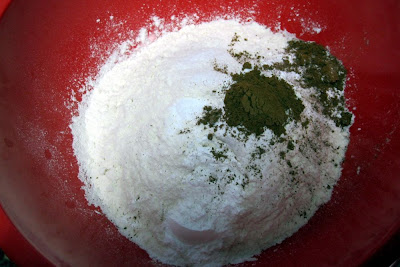
In a medium bowl, sift together the dry ingredients: flour, cinnamon, baking powder, baking soda, and salt. Set aside.
In a stand mixer, beat the butter and sugar together on medium speed until light and fluffy in texture, about 3 minutes. Add the vanilla and coffee powder. Add the two eggs, beating well after each addition. Beat in half of the dry ingredients, then add the buttermilk (or other dairy option) and the banana puree. Then beat in the remaining dry ingredients. Stir in the mini chocolate chips just until combined, using a spoon or spatula, not the mixer. You don't want a tough cake, so as soon as the chocolate chips are dispersed, put down the spoon!
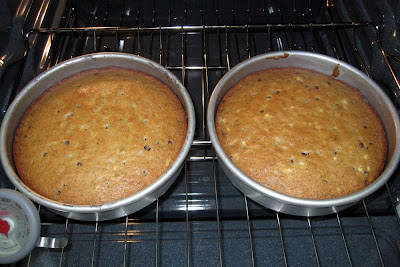
Spread the batter evenly among the two prepared cake pans. Bake for about 40 minutes until the tops of the cakes are golden brown and the sides pull away from the edges. I recommend checking the cakes at 30 minutes in case your oven is fast (like mine!). Cool at least 15 minutes in the pans on cooling racks before using a sharp knife to cut around the edges, then inverting onto the racks to finish cooling. Remove the parchment from the bottoms.
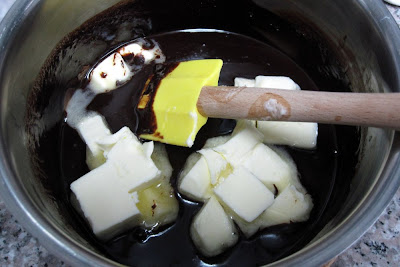
To make the frosting, melt the chocolate with the coffee in a medium saucepan or in the microwave, taking care not to burn the chocolate. Stir occasionally. The consistency should be perfectly smooth. Remove from the heat and add in the 10 tablespoons butter, whisking until completely melted and combined.
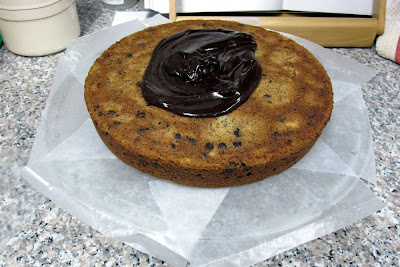
To assemble the cake, place one of the cake layers upside down on your serving plate. Slide pieces of wax paper or parchment paper under the edges of the cake to protect your serving plate from unruly frosting. Spread about 3/4 cup frosting over the cake. Place the second cake layer on top of the first, standing right side up. Use the remaining frosting to cover the top and sides of the cake.
Step-by-Step in PicturesSift the dry ingredients together; set aside...
Beat the butter and sugar together...
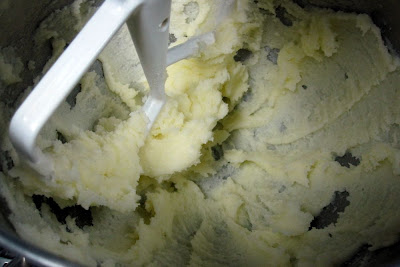
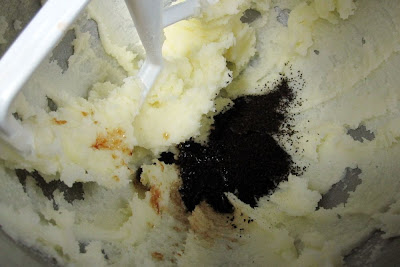
Add the vanilla and coffee powder...
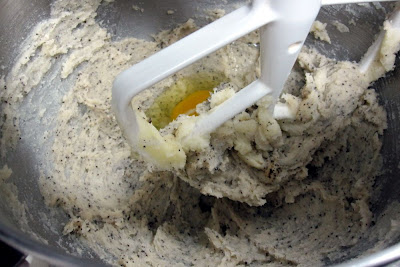
Add the eggs, one at a time...
Add half the dry ingredients...

Add the buttermilk and banana puree...

Add the remaining dry ingredients...
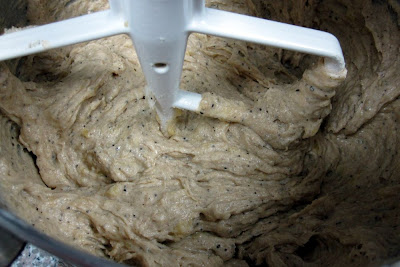
Stir in the mini chocolate chips...

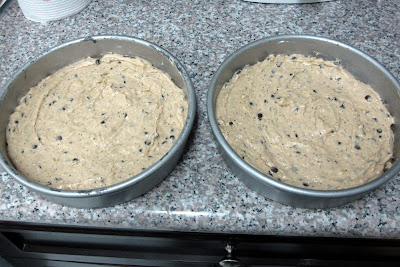
Spread evenly in two prepared cake pans...
Bake at 350 degrees F for about 40 minutes...
To make the frosting, melt the chocolate with the coffee...

Remove from the heat and stir in the butter until completely melted and smooth...
Spread about 3/4 cup of cooled frosting onto the first cake layer...
Place the second layer on top of the first...

Frost the outside of the cake with the remaining frosting...
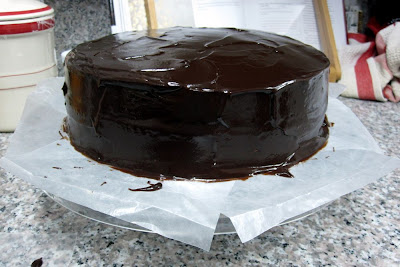
Decorate with the back of a spoon if desired...
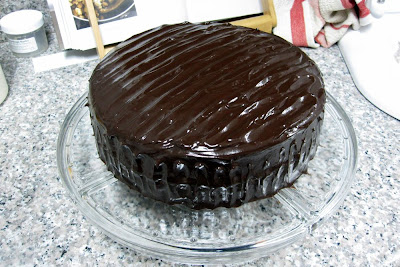
Slice and serve!

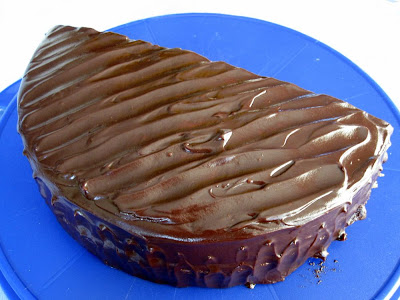
 Today is my half birthday. The 6 month mark. That is worth celebrating, right? I was thinking of baking myself a half birthday cake. But what exactly does that look like? Does it mean I bake a whole cake and toss out half or give away half? Or do I only bake half the recipe? But in a round cake pan so it looks like a whole cake? Or do I bake a cake in a cake pan that looks like half a round cake? DING DING DING!


