
Believe it or not, I am still using up the chopped candy pieces I acquired from the birthday party my friend hosted for her husband back in April. She had an ice cream-themed party with a gazillion toppings so you could build your own amazing sundae. At the end of the party, she sent me home with lots of the leftover toppings, not knowing what to do with them. I've been having a blast baking with them or snacking on them plain. Already used up the Oreos, Kit Kats, M&Ms, and mini peanut butter cups.


This time around, I took her crushed Butterfingers and decided to add them to a peanut butter cookie. And not just any peanut butter cookie. David Lebovitz's. I added some vanilla to his recipe, tossed the crushed Butterfingers in at the last minute, and shaped the dough into cookie logs so I could slice and bake. Oh man, these cookies are amazing. They are chewy and peanut buttery, and then they have these baked Butterfinger bits in them that add some caramelized crunch. I could not be happier with the result!
Peanut Butter Butterfinger Cookies
Adapted from a recipe by David Lebovitz in Ready for Dessert
Makes 30 cookies
1 1/4 cups all-purpose flour
1 tablespoon baking powder
1/4 teaspoon salt
1/2 cup (1 stick) unsalted butter, melted
1/2 cup granulated sugar
1/2 cup packed light brown sugar
1 cup creamy peanut butter (not natural; I used Skippy)
1 teaspoon vanilla extract
1 large egg, at room temperature
1 cup chopped Butterfingers (this is a rough estimate; feel free to use more or less!)
In a small bowl, whisk together the dry ingredients (flour, baking powder, and salt). Set aside.
In a stand mixer or large bowl with hand mixer, beat the butter, both sugars, and peanut butter together on medium speed until smooth. Blend in the vanilla and egg. Add the dry ingredients and mix just until incorporated. Stir in the chopped Butterfingers.
Leave in the bowl, covered, or shape the dough into a couple of logs wrapped in plastic wrap. Then chill in the fridge for at least 2 hours or overnight. You can also freeze the cookie dough logs in Ziploc bags to make cookies at a later date.
When you're ready to bake, preheat the oven to 350 degrees F. Line 2 baking sheets with silicone baking mats or parchment paper. Drop balls of dough onto the baking sheet or slicing the logs into approximately 1/2-inch thick discs and space evenly apart. Use a fork to flatten the tops of the cookies. Bake for 8 to 10 minutes, rotating the sheets front to back and top shelf to bottom shelf halfway through baking. The cookies will look slightly underdone, but start to look golden around the edges. Underdone is the key to chewy cookies!!
Cool the cookies on the baking sheets for 10 minutes, then transfer to cooling racks.
Step-by-Step in Pictures
Whisk together the dry ingredients and set aside...

In a large bowl, beat together the butter, sugars, and peanut butter...

Blend in the egg and vanilla...

Stir in the dry ingredients...

Stir in the Butterfinger bits...

Mix just until incorporated...

Shape into cookie dough logs and wrap in plastic wrap. Chill in the fridge for at least 2 hours, or freeze in a Ziploc bag...

If you're going to freeze to bake at a later time, be sure to include some instructions on the Ziploc bag so you'll know how to finish off the baking!

When you're ready to bake, slice the log into discs...

Place the discs evenly apart on a baking sheet, then press down with a fork to create a crosshatch design...

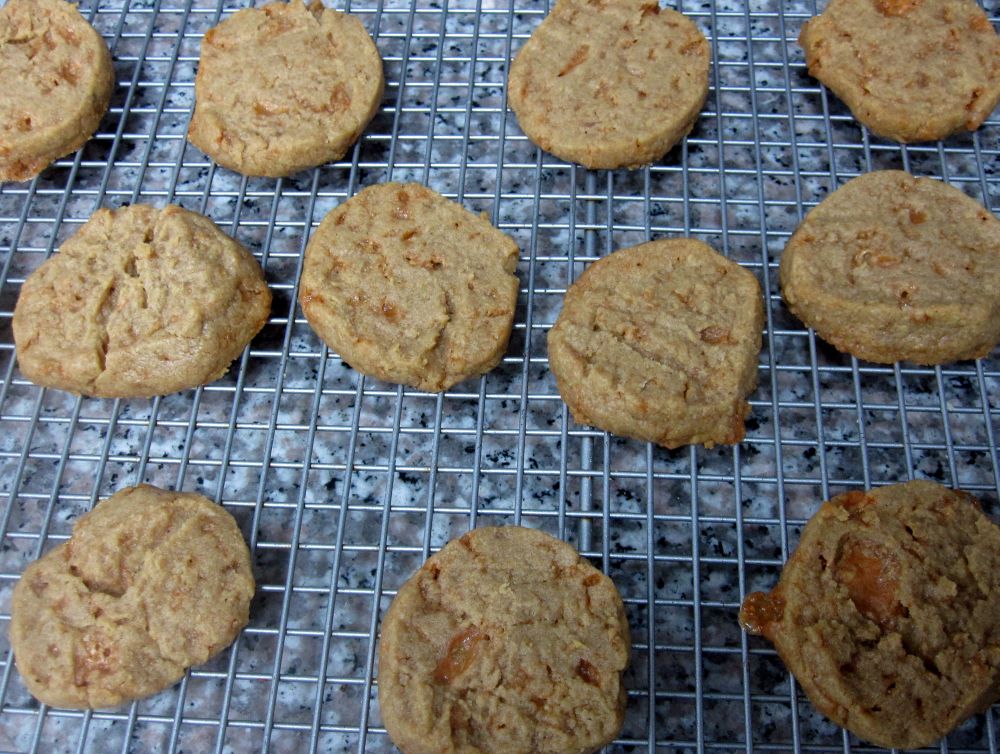
Bake at 350 degrees F for 8-10 minutes. Err on the side of underbaking them...

Yummo!!


2 comments:
I was lucky enough to eat one (or actually many) of these cookies. The cookie was amazing! I've never had a cookie with butterfingers added but the combination was perfect. What a great idea!
these look great. I just had an idea, oatmeal butterfinger cookies. Will you make them for me? pretty please?
Post a Comment